


In this tutorial, you will learn how to build a Piggy bank smart contract and deploy it to the Celo Blockchain. Celo is optimized for speed and mobility with a focus on inclusive finance. Celo is EVM-compatible, so we'll be writing our smart contract with Solidity. If you're new to Solidity Programming, be sure to check out my beginner-friendly tutorial on Solidity.
Getting Started
A traditional piggy bank is a box where we save up money for a particular period. Today, we will implement the same strategy using solidity code, to allow our users:
Securely save up their tokens for a set period.
Add more tokens to their piggy bank as they wish.
Break their piggy bank after the set time (Transfer the saved tokens back to their wallets)
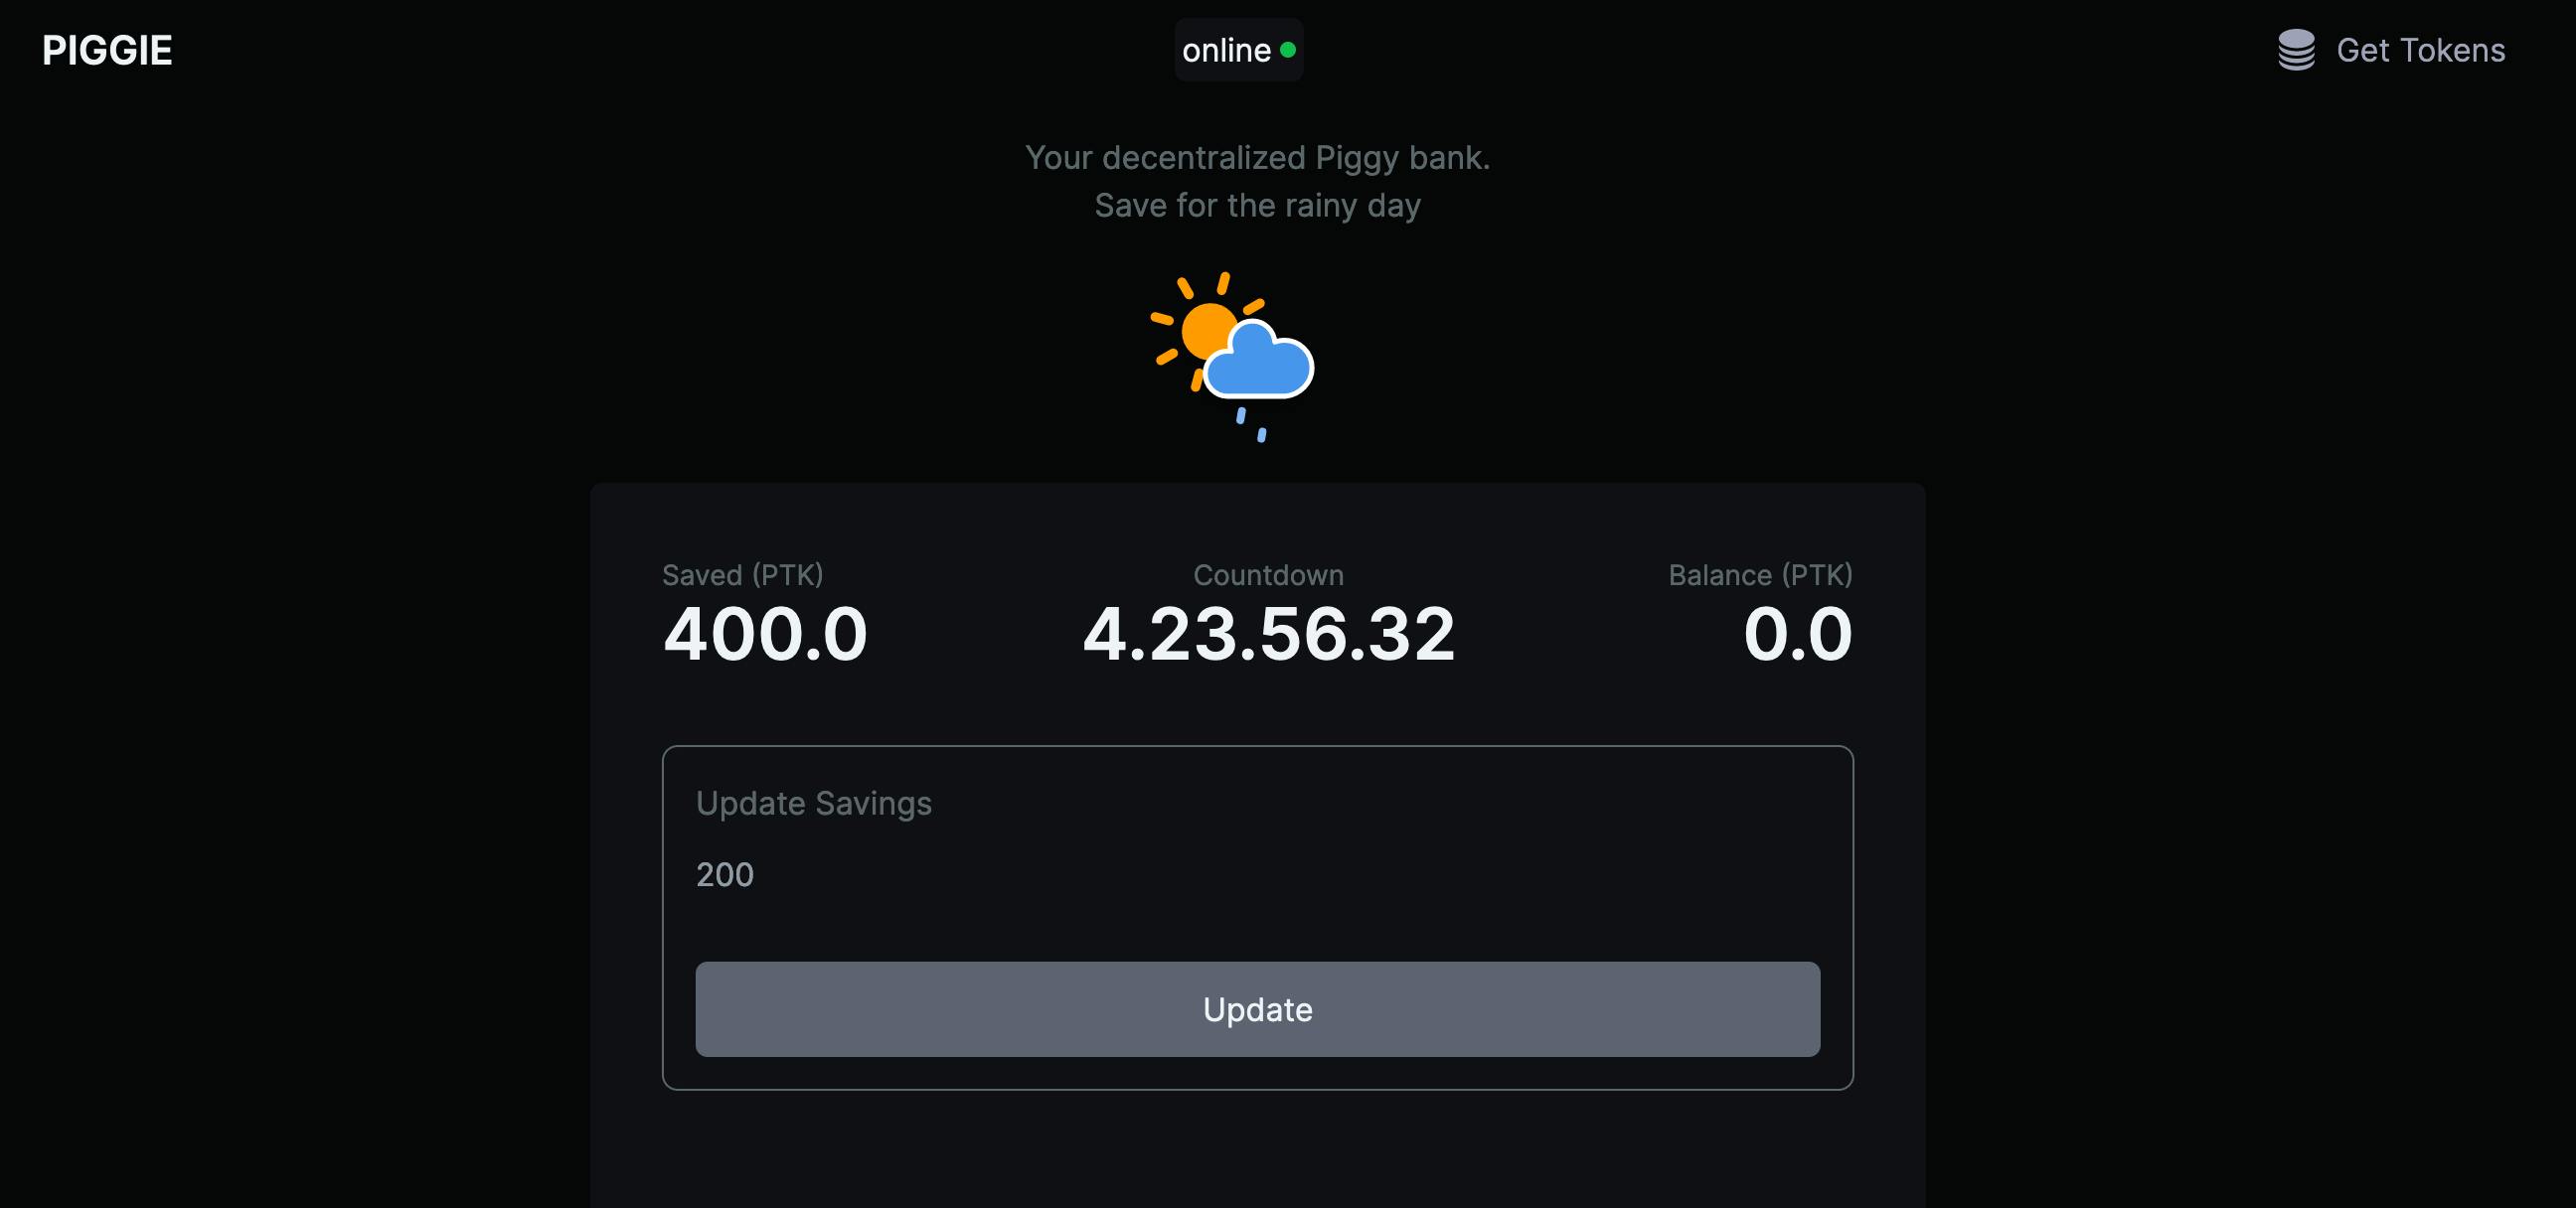
I have gone ahead to build an app that connects our smart contract, to allow you to understand what we wish to achieve. The link is at the end of the tutorial. Without further ado, let us dive in!
Prerequisites
Remix IDE: The best way to learn is to code along. I recommend Remix IDE, because it does not require any extra setup. We will also deploy our smart contract from Remix. You can use any text editor or solidity framework of your choice to follow along
Metamask: Metamask is a browser extension wallet that allows you to connect to blockchain networks. We need metamask to deploy our contract to Celo network, and also interact with it. Any Celo-compatible wallet (eg. Valora) can work as well.
Developing our contract
Firstly, we define our smart contract. We usually start by telling the Solidity compiler which version to use. In this case, our code is compatible with compiler versions after 0.8.9
// SPDX-License-Identifier: MIT
pragma solidity ^0.8.9;

contract PiggyBank {
    address piggyTokenAddress;
    enum Status {
        INACTIVE,
        ACTIVE
    }
    struct Account {
        uint256 balance;
        Status status;
        uint256 createdAt;
        uint256 expiresAt;
    }
    mapping(address => Account) records;

    event Created(address indexed owner, uint amount, uint indexed createdAt, uint expiresAt);
    event Updated(uint amount, uint updatedAt);
    event Broken(address indexed owner, uint saved, uint expiredAt);

    modifier isNotActive {
       require(records[msg.sender].status == Status.INACTIVE, "Piggie already exists");
        _;
    }
    constructor(address _piggyTokenAddress) {
        piggyTokenAddress = _piggyTokenAddress;
    }
    //functions goes here
}
In the above contract, we define:
piggyBankTokenAddress: This is used to store the test token smart contract address. I already created a faucet where you can mint and test our contract.Status:This is an enum type that defines the state of our piggy account.Account:This is a struct type that holds the piggy account information of our users.records: This serves as the database of our dApp. It holds all users' accounts.
Created, Updated, Broken:These are the events that fire when a user performs actions on our smart contract. Theindexedkeyword makes it possible to search for the events using the indexed attribute.isValidAddress: This is a modifier. Modifiers run before a function. In this case, our modifierisValidAddressperforms a check to ensure our users are calling from a valid address.constructor:A constructor is a function that runs only once - when the contract is deployed. In our case, we are setting thepiggyBankTokenAddresswith the test token contract address passed during deployment. More on this later.
Adding our functions
Next, we add our functions. These functions allow users to interact with our piggy bank. We will define three functions for creating a piggy box, updating our token balance in the future, and breaking the box when the user's set time has passed.
function createPiggy(uint _amount, uint _duration) external  isNotActive{
        require(_amount > 0 && _duration > 0, "Invalid values");
        require(records[msg.sender].status == Status.INACTIVE, "Piggie already exists");
        //get the token contract and transfer
        IERC20(piggyTokenAddress).transferFrom(msg.sender, address(this), _amount);
        uint expiresAt = block.timestamp + _duration;
        records[msg.sender] = Account({
            balance: _amount,
            status: Status.ACTIVE,
            createdAt: block.timestamp,
            expiresAt: expiresAt
        });
        emit Created(msg.sender, _amount, expiresAt, block.timestamp);
    }

    function updateBalance(uint _amount) external {
        require(records[msg.sender].status == Status.ACTIVE, "Piggie is not ACTIVE");
        require(_amount > 0, "Invalid amount");
        //get the token contract and transfer
        IERC20(piggyTokenAddress).transferFrom(msg.sender, address(this), _amount);
        records[msg.sender].balance += _amount;
        emit Updated(_amount, block.timestamp);
    }

    function breakPiggy() external {
         Account memory account = records[msg.sender];
         require(account.status == Status.ACTIVE, "No record");
         require(block.timestamp >= (account.expiresAt), "Not yet time.");
        //get the token contract and transfer
        IERC20(piggyTokenAddress).transfer(msg.sender, account.balance);
        //reset record
         account.balance = 0;
         account.createdAt = 0;
         account.expiresAt = 0;
         account.status = Status.INACTIVE;
         records[msg.sender] = account;
         emit Broken(msg.sender, account.balance, block.timestamp);
    }

    function getRecord() external view isValidAddress returns (Account memory){
        return records[msg.sender];
    }
Noticed we used isNotActive modifier in our createPiggy function. You remember what we said modifiers are right? Good! Now, let us break down the above functions better:
createPiggy(): This function essentially creates a new piggy box. It accepts_amountand_durationparameters, then perform checks to see if these parameters are valid. Next, the function checks if our Piggy Box user already has an account, then goes ahead to create one if none. The function then transfers the tokens the user wishes to save to the smart contract and updates the user's piggy account record.updatePiggy(): I will leave this for you to decode. If you have any questions, feel free to drop them in the comment section. I'll gladly explain further 😉breakPiggy(): This simulates breaking your piggy box. It checks whether the duration has expired, and sends all user's saved tokens back to their wallet. This function also resets the user account allowing them to create another piggy bank in the future.getRecord(): This returns the user's piggy account information.
Perfect! Now we have a working Piggy Bank smart contract. How do we test it?
Deploying our piggy bank contract to Celo
To deploy our smart contract, we have to add the Celo network to our Metamask wallet. The easiest way is to visit ChainId, search for celo, and add Celo Alfajores Testnet to your Metamask network list.

Getting test CELO
Next, we need the native test token $CELO to pay for gas fees. Writing to the blockchain is expensive, and gas fees are required to execute functions on the blockchain. We can get free tests $CELO from Celo Faucet.
Up Up, Away!
After getting your test $CELO tokens, you can now deploy via Remix, with these steps:
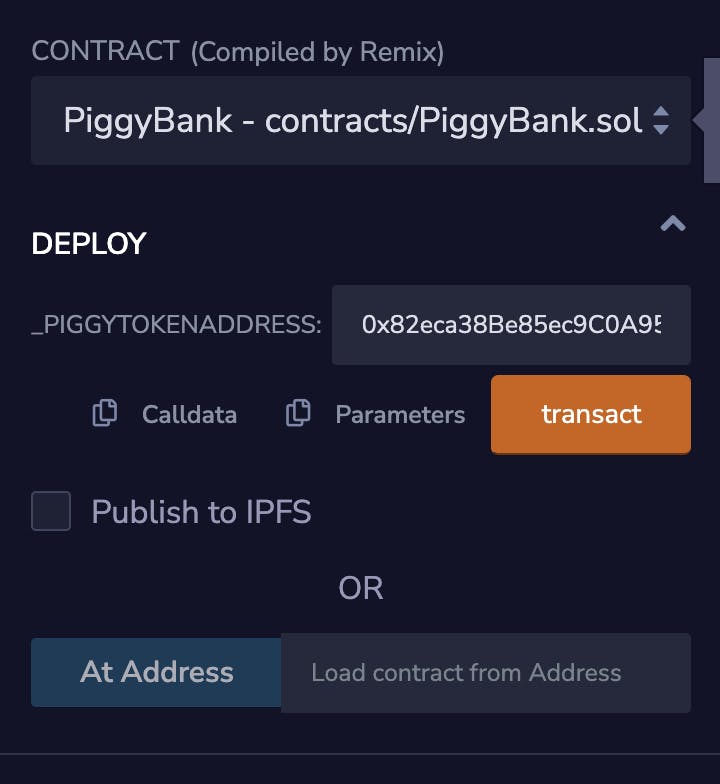
- Navigate to the Deploy tab, change to Environment to "Injected Provider - Metamask"

- Ensure PiggyBank is selected on the CONTRACT section, then enter 0x0fC5025C764cE34df352757e82f7B5c4Df39A836 as the Piggy Tokens address - This is an already deployed token smart contract that our Piggy Bank smart contract interacts with. Click on the "transact" button, then confirm the transaction from your Metamask. This will deploy our PiggyBank contract to Celo test Network 🚀🚀
Interacting with our Piggy Bank
Now that we have successfully deployed our PiggyBank contract to the Celo Network, we can now interact with it from the Remix IDE.

We now have our function buttons. Go ahead and play with it. You'll notice we need Piggy tokens, which we do not have yet. I already created a faucet on the PiggyBank dApp. Just connect your wallet, and mint. Then test your smart contract!
Conclusion
We had fun learning how to write smart contracts in Solidity and deploying our contract to Celo. We started by introducing smart contract data structures and functions. We then progressed by piecing the parts to make our smart contract function and deployed our Piggy Bank contract to the Celo Blockchain.
Furthermore, we learned how to connect to Celo using Metamask as well as interact with the network by minting test $CELO, thereby giving a holistic approach to blockchain development in the Celo ecosystem.
Congratulations on your added skill! You can also interact with the smart contract from the Piggie Bank dApp. You can also check out the source code on my Github. Feel free to drop any feedback in the comments. Cheers 🎉